Create change notice in PTC Windchill
PTC Windchill task
You can create a change notice to manage the changes to be applied to parts. In this example, one part is revised within a change notice. However, multiple parts could be changed within a change notice and also any other changes could be covered by a change notice.
Note: The steps and user interface can differ in your version of PTC Windchill. This topic describes the manual procedure. For other ways to send change notices, consult your PTC Windchill partner.
Standard procedure
| 1. | Log in to PTC Windchill. |
|
Note: In this topic, we only revise one part. |
|
| 2. | Browse to the part to be changed. |
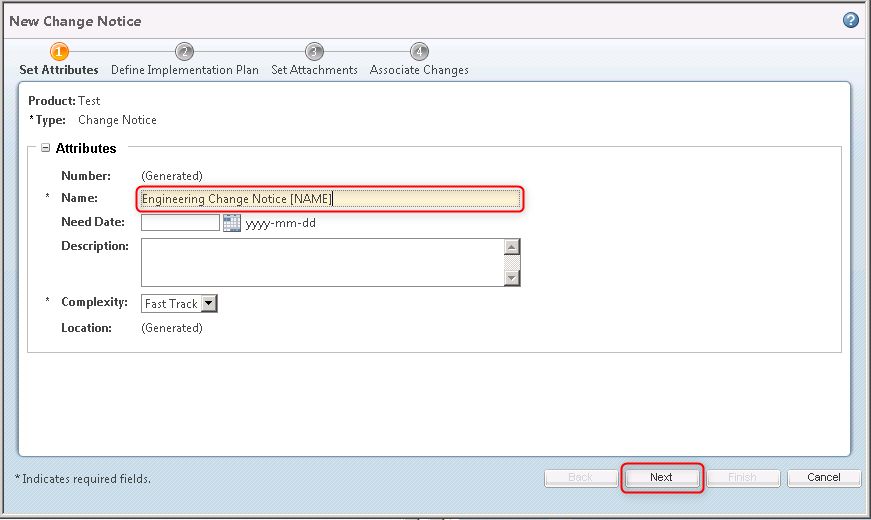
| 3. | Select the part > click Actions > click New > click New Change Notice. |

|
|
| 4. | In the textbox Name type a value > click Next. |
|
|
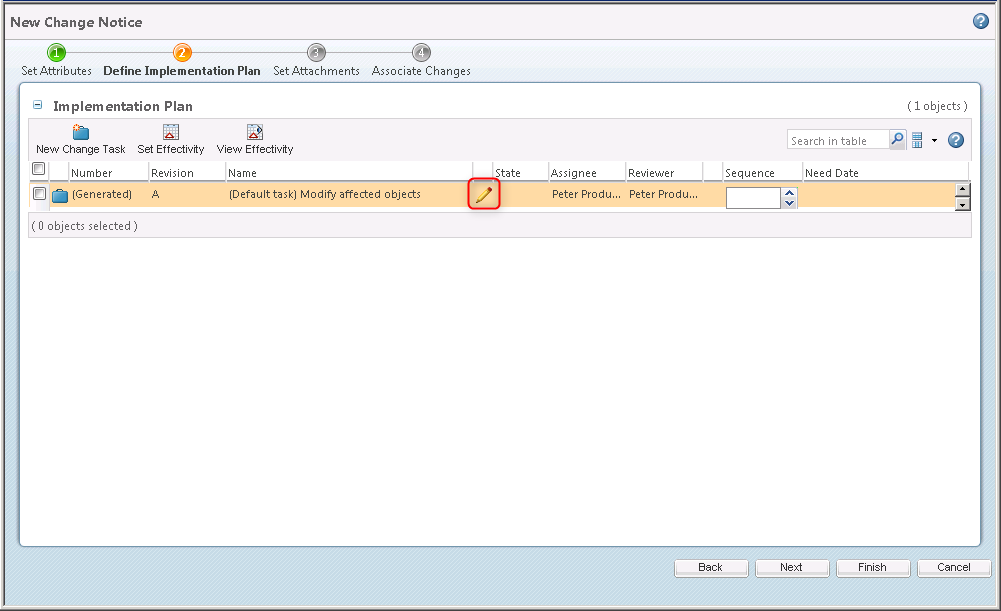
| 5. | Click Edit. |
|
|
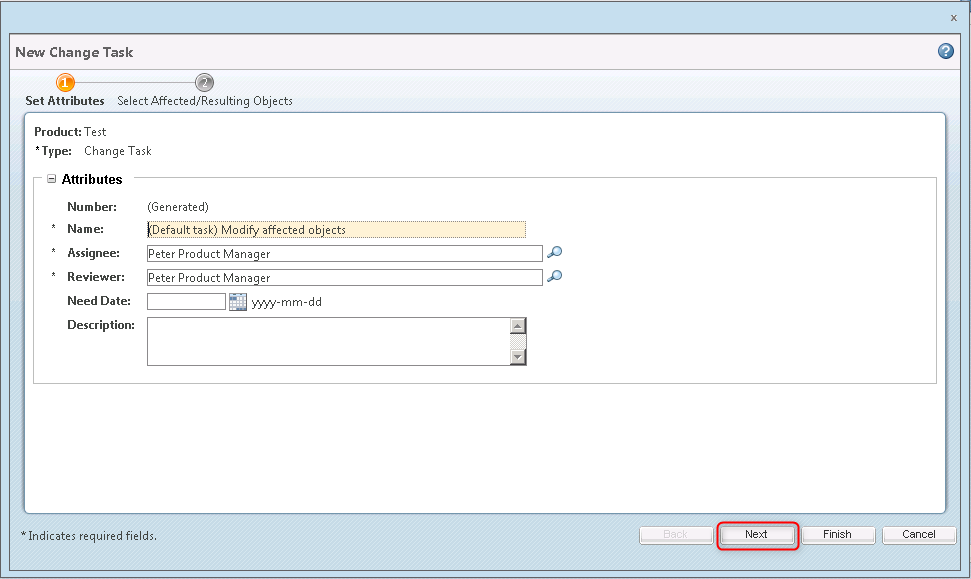
| 6. | Click Next. |
|
|
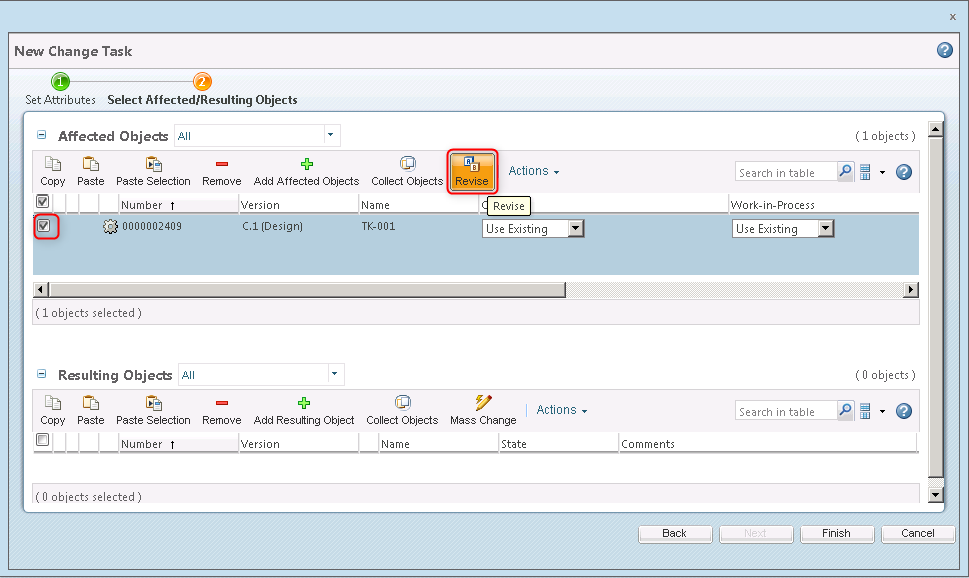
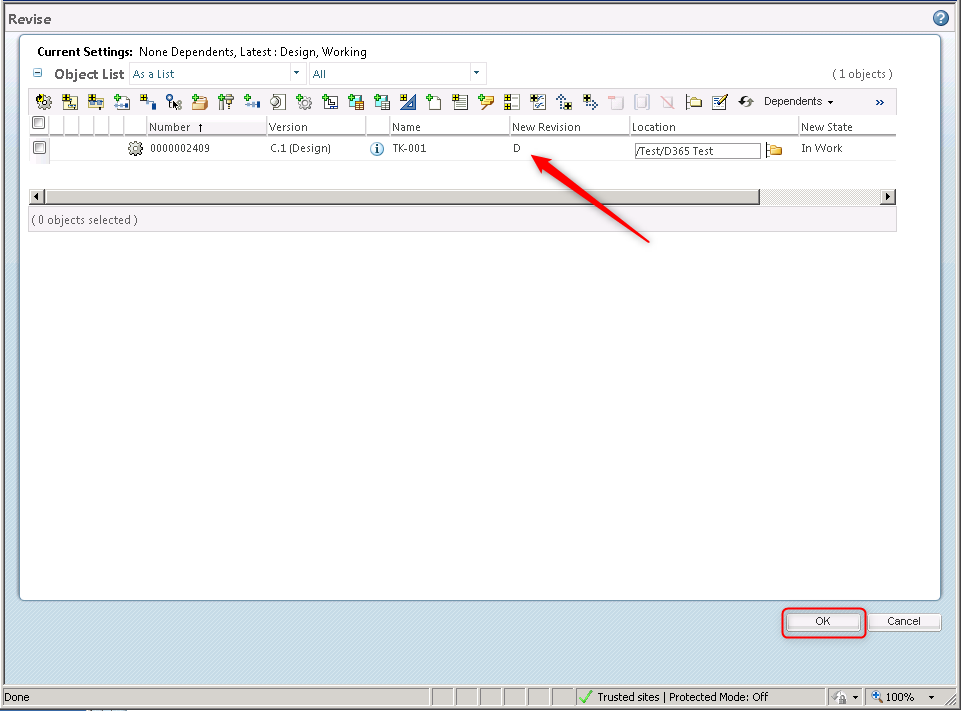
| 7. | Select the part > click Revise. |
|
|
|
Note: In this topic we only revise one part. |
|
| 8. | Click OK. |
|
|
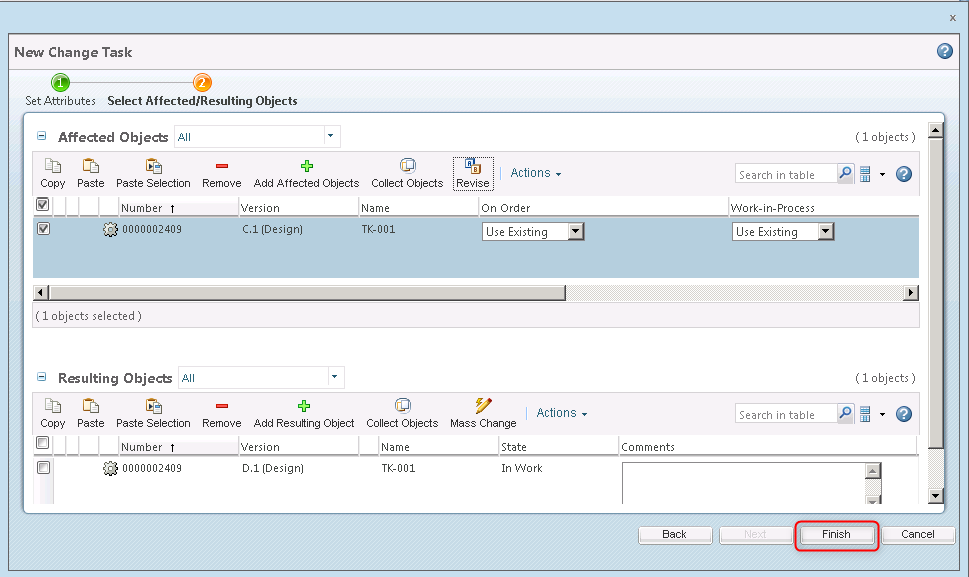
| 9. | Click Finish. |
|
|
| 10. | Click Finish. |

|
|
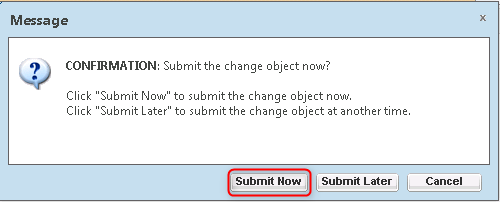
| 11. | Click Submit Now. |
|
|
|
Note: By submitting the change notice, the change notice is available for an engineer to apply the changes described in the change notice. |
| Related to | Notes |
|---|---|
|
Use PTC Windchill integration |